
Tutorial: Build a JAMstack Personal Blog with Headless Ghost 2.0 CMS & Gatsby
24 June, 2019
In this post I'll introduce you to my latest stack, talk about what influenced the choices and walk you through how to set this up for yourself.
Every couple of years I redesign and rewrite this blog from scratch. I use this as a way to give my blog a facelift, play with some new tools and share the journey. This is round III.
This is always a lot of fun for me given that in professional life it's rare that I get this type of freedom to select whatever tools and services I like without having think too long and hard about things like deadlines, maturity of tools or budgets.
Traditionally the stack has been selected purely based on technical concerns but this time I'm trying to inject something that will help me build the habit of writing more consistently. So this time around I've added the requirement that this new stack MUST remove as many barriers to writing and publishing as possible and make it as pain free (maybe even fun) as possible.
Oh - and it all has to be free + open source.
Evolution of the Stack:
In the past 8 years I've had a lot of fun writing and rewriting my blog. Here are the choice I've made 🙈:
- 2011: Full Featured CMS - ModX (PHP CMS & Templating Engine) + MySql + Godaddy (Hosting)
- 2013: Single Page App with Content API - Node + Express + MongoDB + Heroku
- 2019: Static Site with Headless CMS - Gatsby (Serverless Static Site Generator), Ghost (Headless CMS) and Netlify (Hosting + CI).
The New Stack:
Gatsby - Static Site Generator
There’s no question that static sites have made a huge come back. The result being a return to dynamically developed (React JS) but statically served (HTML/CSS/JS) applications with great tools perfect for use cases like my blog.
GatsbyJS is my favorite of all the tools I've played with thus far. It lets us write our application using standard ReactJS which is then pre-compile down to just static assets (HTML, JS and CSS).
Here are the two main benefits that mattered to me:
- Performance - Out of the box we get optimizations like Code Splitting, Pre-Fetching and Critical Path Rendering. This plus the fact that we're pre-rendering the entire app means no extra works for servers thus incredibly fast response times.
- Bring Your Own Data - Build pages using whatever data source you like - Markdown, SaaS Services or... as in our case today... a headless content management system.
Ghost 2.0 - Headless CMS Platform
The Ghost editor is by far the simplest, prettiest, most distraction free yes powerful blogging platform I’ve seen to date! If this one doesn't get me writing honestly nothing else will (laziness? 🤔).
Netlify - Hosting + CI
I'm switching from Heroku to Netlify. There' great for static stites and everything Just Works™ out of the box. We also get free Git Integration + Continuous Deploys so we can create really smooth dev workflow. And of course their super generous free plan (100GB Bandwidth & Free Private Domains) 🤘🏽
Cloudinary - Content Delivery Network
This is the only CDN I could find with a free tier + Ghost Integration. Plus works great!
The Workflow:
Again, workflow is really important for me this time around so here's how I both edit the site and publish content now:
Editing Site Template:
- Edit Site Locally
- Push changes to Github
- Netlify automatically builds and deploys site (~40 seconds)
Publishing New Content:
- Edit Posts Locally
- Changes automatically build and deploy site (~40 seconds)
It's that Easy!
If you like how this sounds - keep reading for tutorial on how to set this up for yourself.
1) Install Ghost
Let's start by getting our CMS up and running locally.
Install ghost CLI:
yarn global add ghost-cliCreate new directory and initialize new ghost project:
mkdir ghost-admin && cd ghost-admin
ghost install local
Once finished installing you should be able to access new admin @ http://localhost:2368/ghost. Follow the initial setup instructions.
You can also preview the default site template here but we'll be using our own front-end so let's go set that up now...
2) Setup Project
The official Gatsby Starter Ghost project comes preconfigured with the gatsby-source-ghost plugin (which pulls data from the Ghost Public API) and a clone of the default Ghost template so we can get started quickly.
Let's go ahead and clone that project:
git clone https://github.com/TryGhost/gatsby-starter-ghost.git

cd gatsby-starter-ghost

yarn install

yarn dev
Edit: Navjot Singh pointed out that forking the project before cloning makes it easier to pull in updates later. I think this is a great idea! Thanks Navjot.
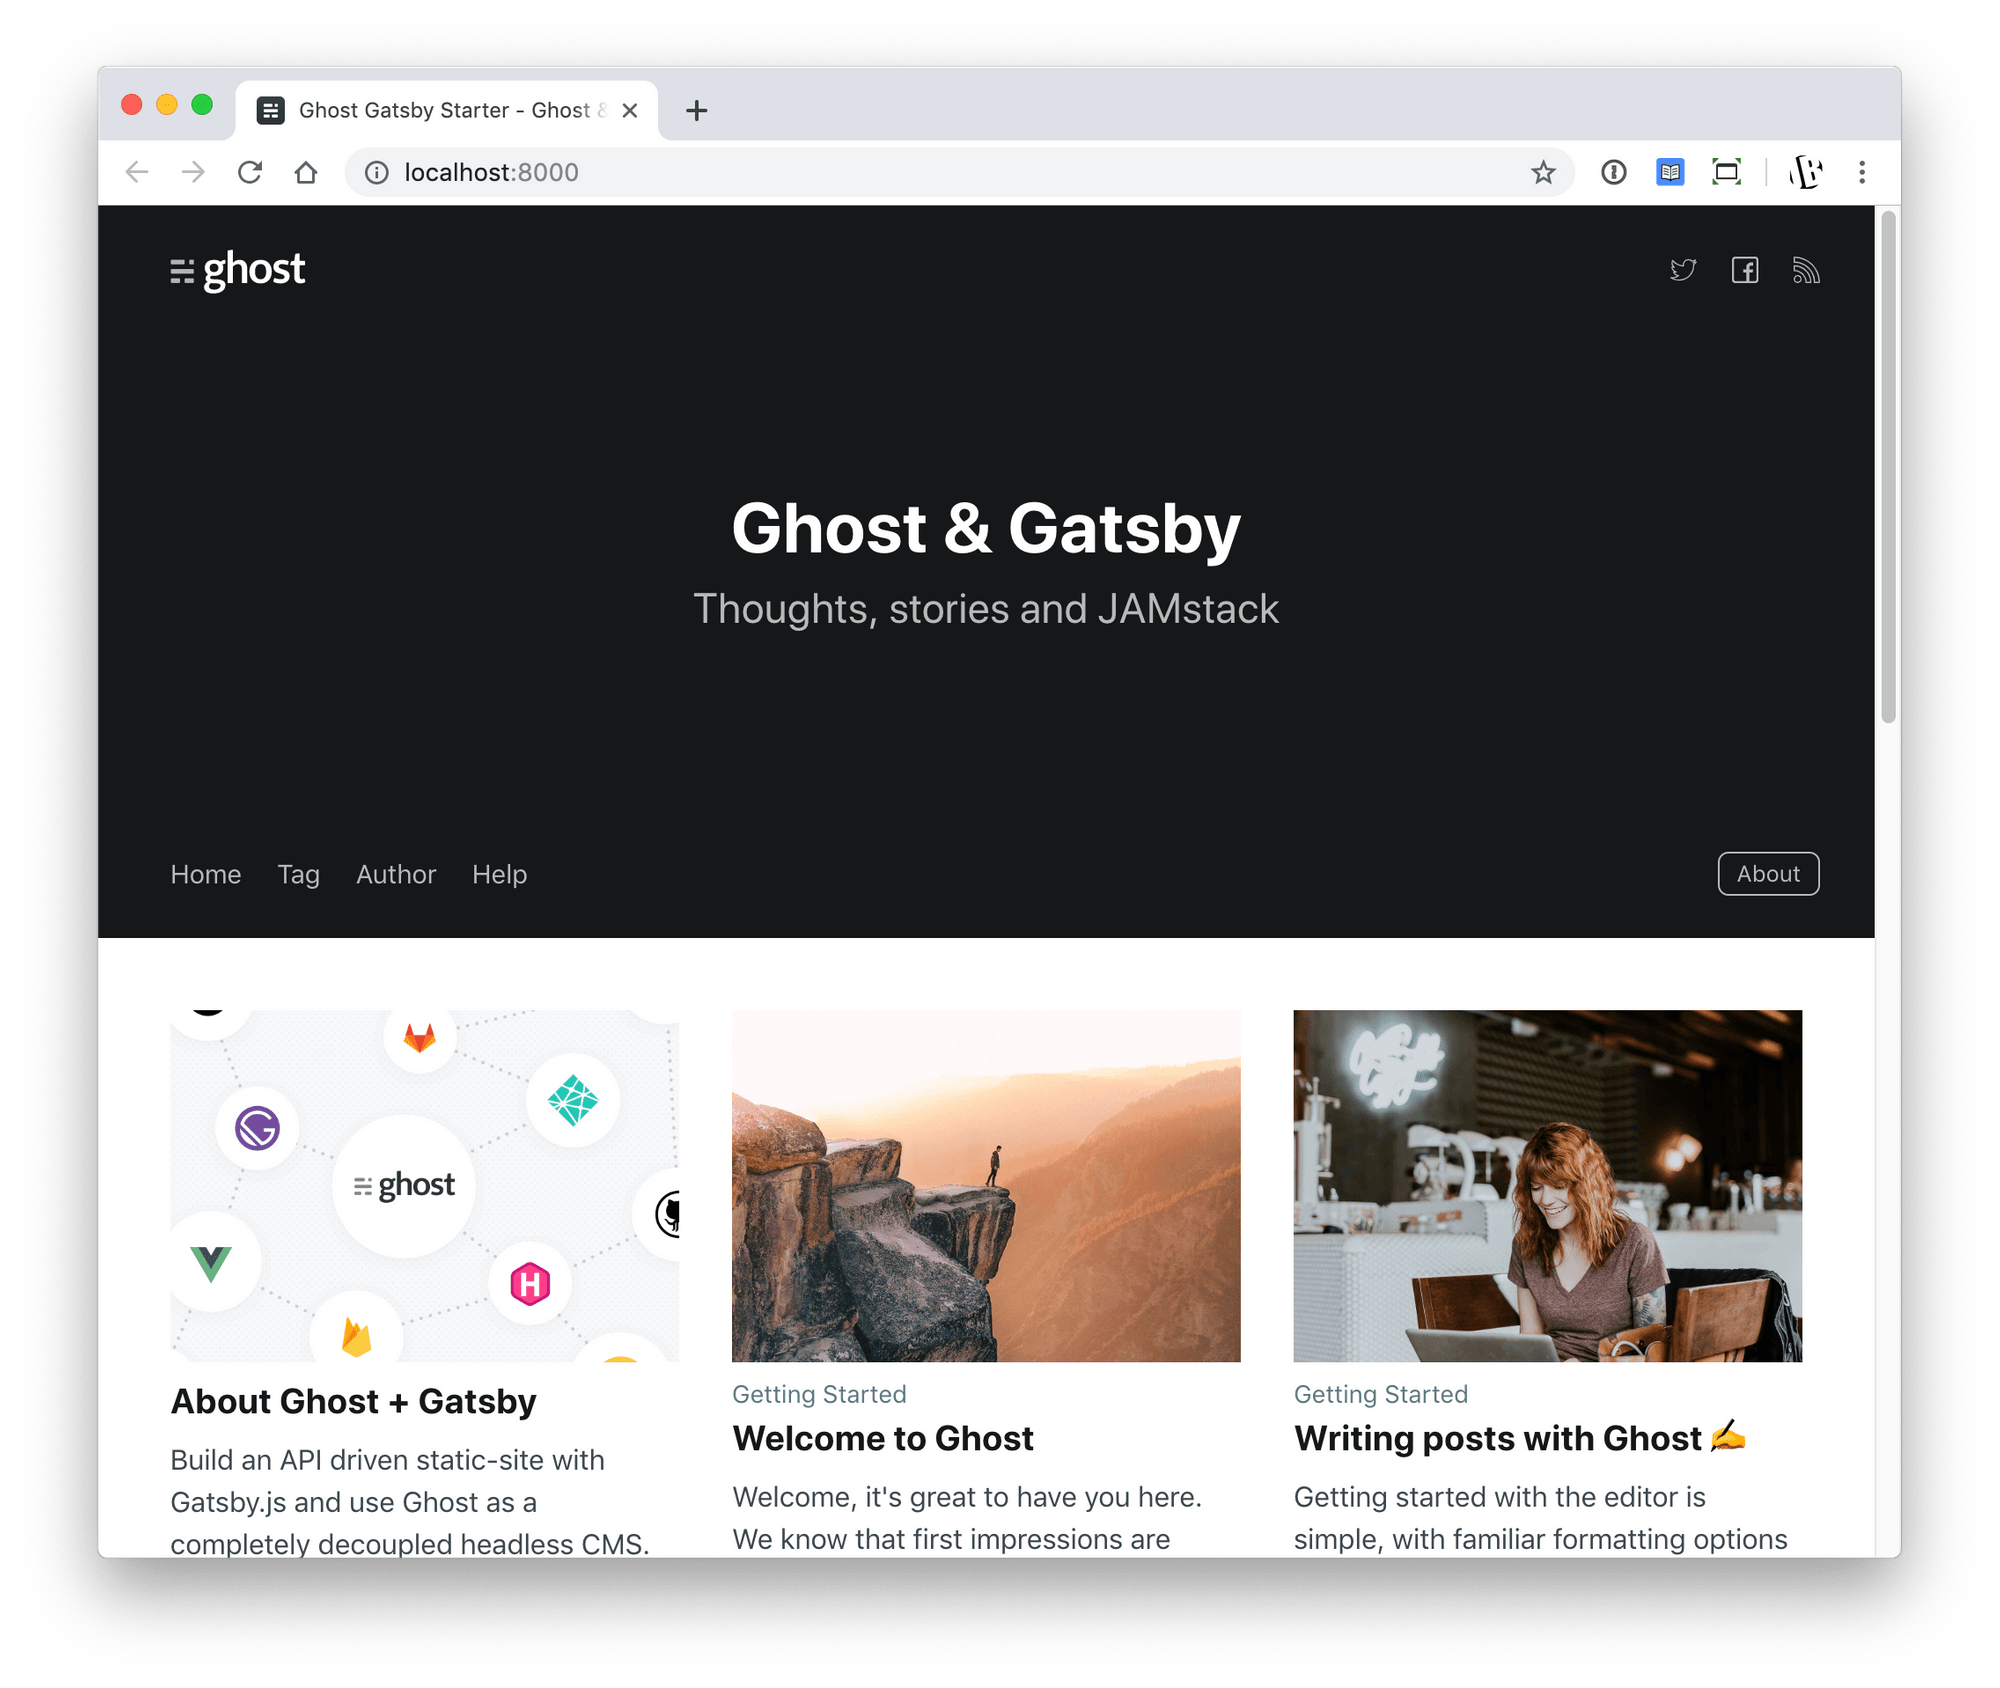
Once ready we should now be able to preview our website at http://localhost:8000/
3) Deploy:
If you haven't already, go to https://github.com/new and create your new Github repository.
Next, let's replace remote origin with the URL to our new Github Project and push our code up:
# Replace remote origin
git remote rm origin
git remote add origin git@github.com:[your github username]/[your new repository name].git

# Push code to our new repository
git push -u origin master
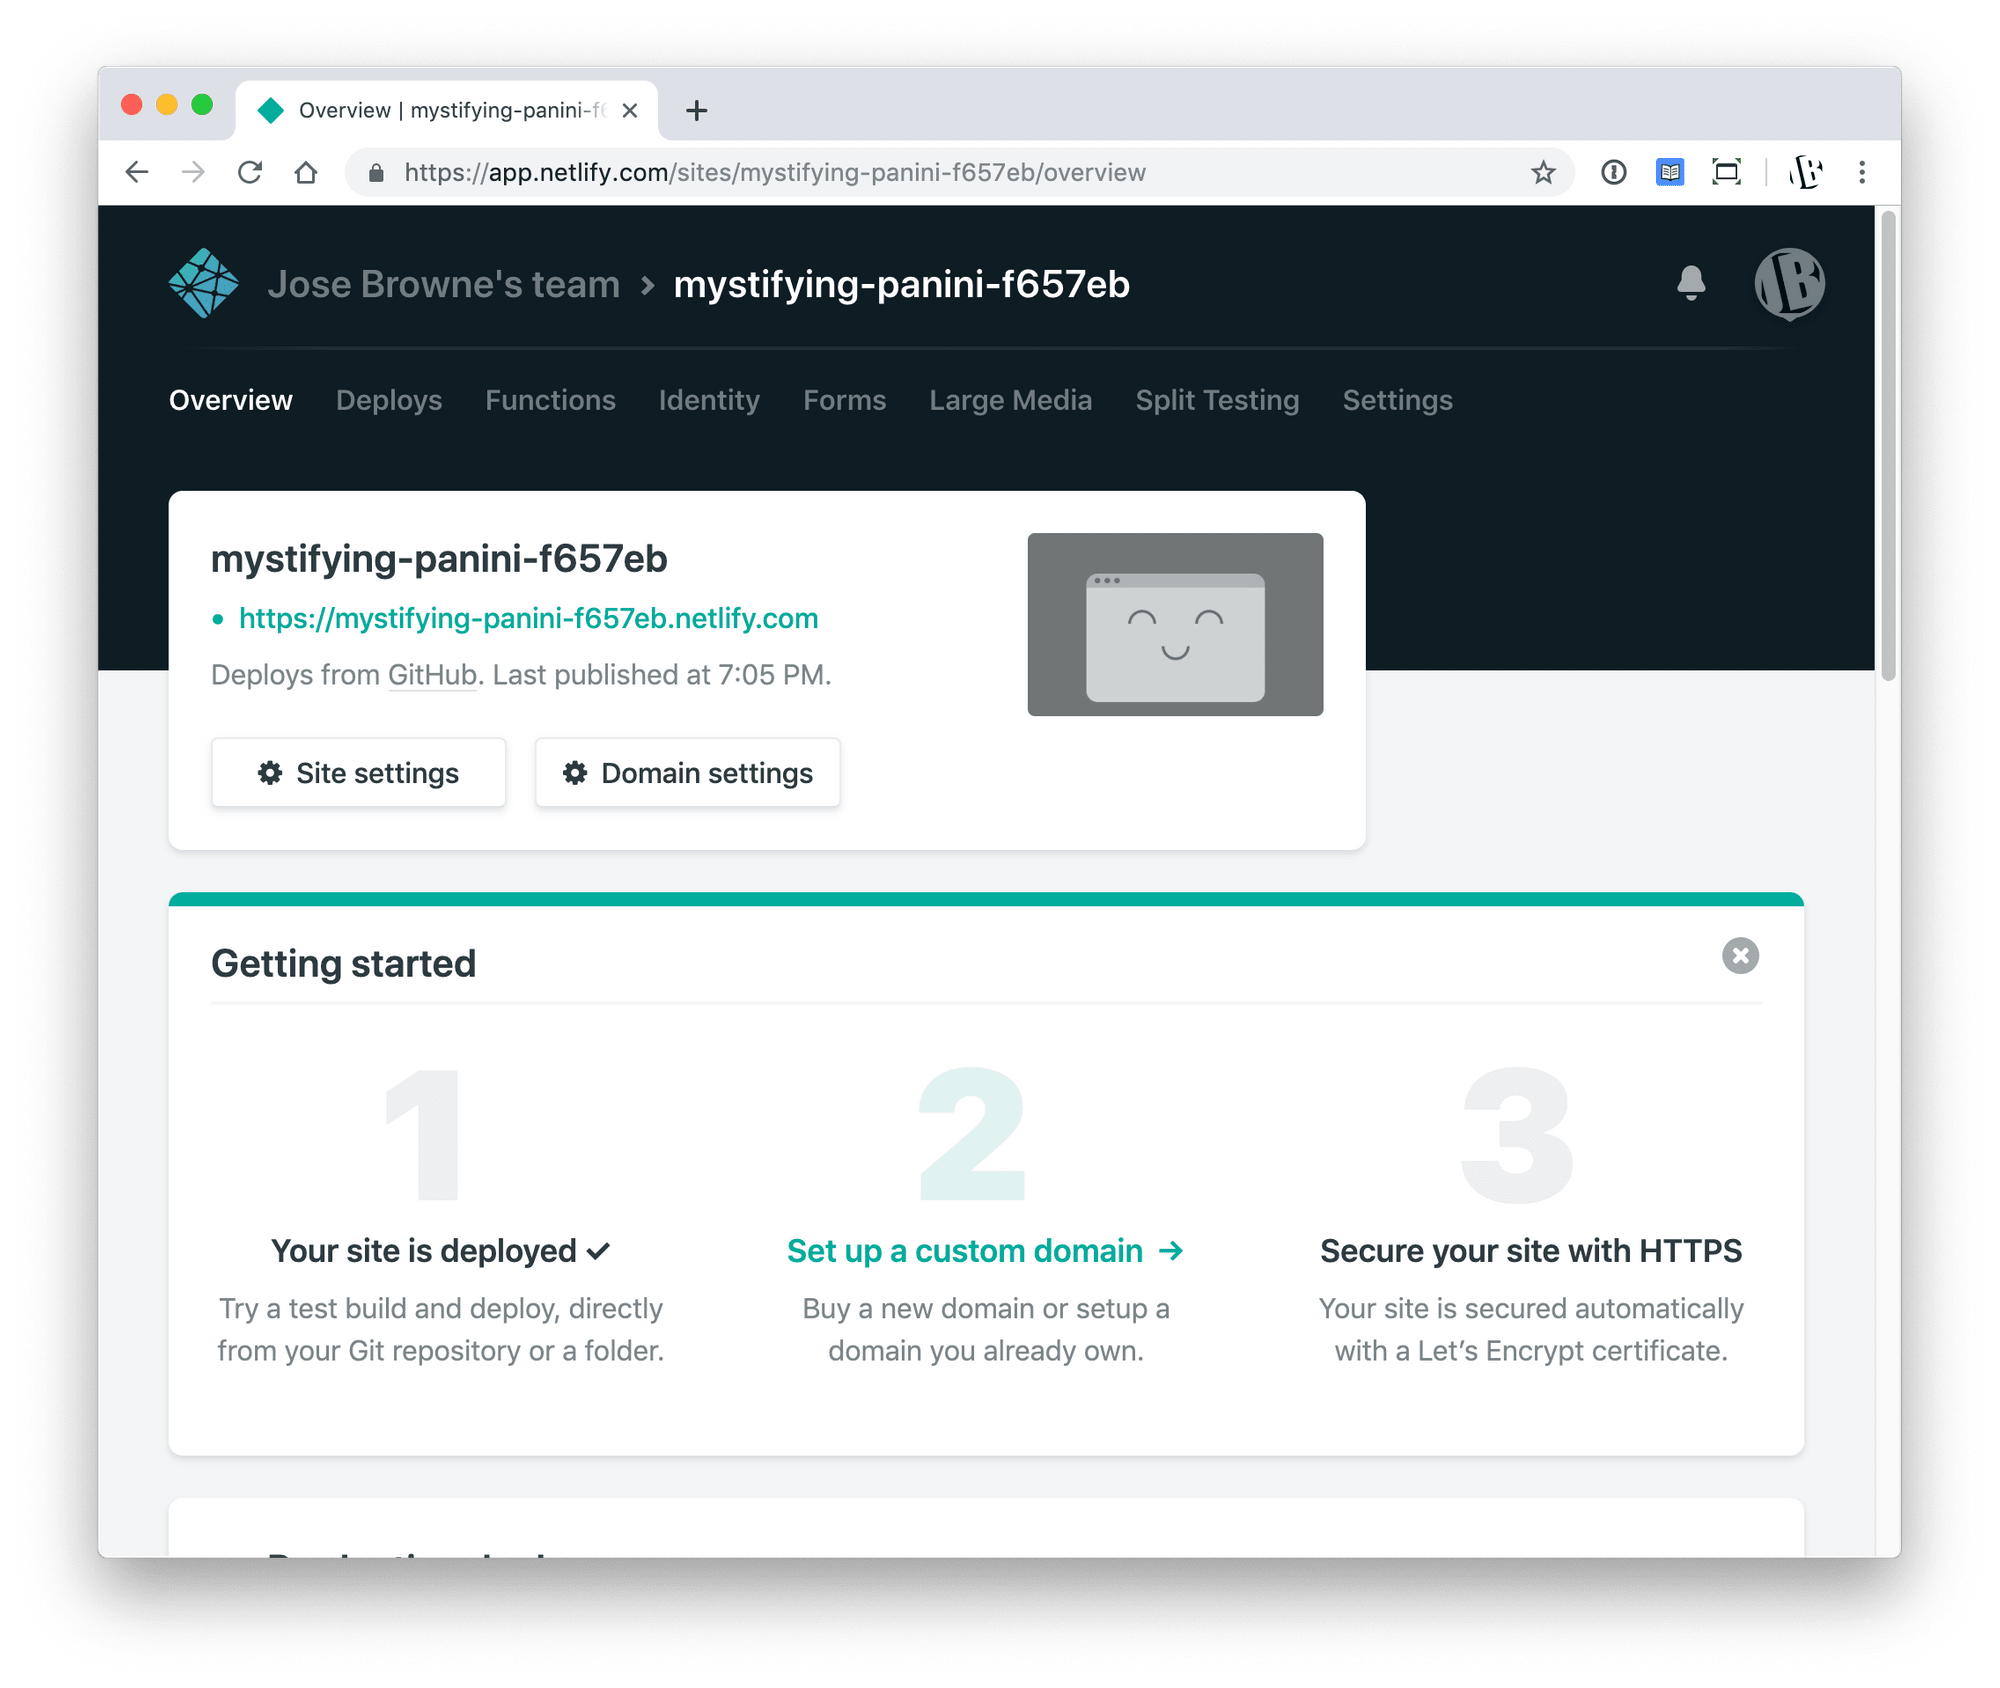
Lastly, once our code is live on Github visit https://app.netlify.com/start and follow steps to build and deploy our new project with Netlify.
Once finished, you should be able to view your new project at a custom URL that looks something like https://foo-bar-foo.netlify.com
Our project is live. Now let's wire things up...
4) Development Configuration
By default, our starter project will fetch its data from the public Ghost Blog API @ https://gatsby.ghost.io - let's change this so that it loads data form our local Ghost instance.
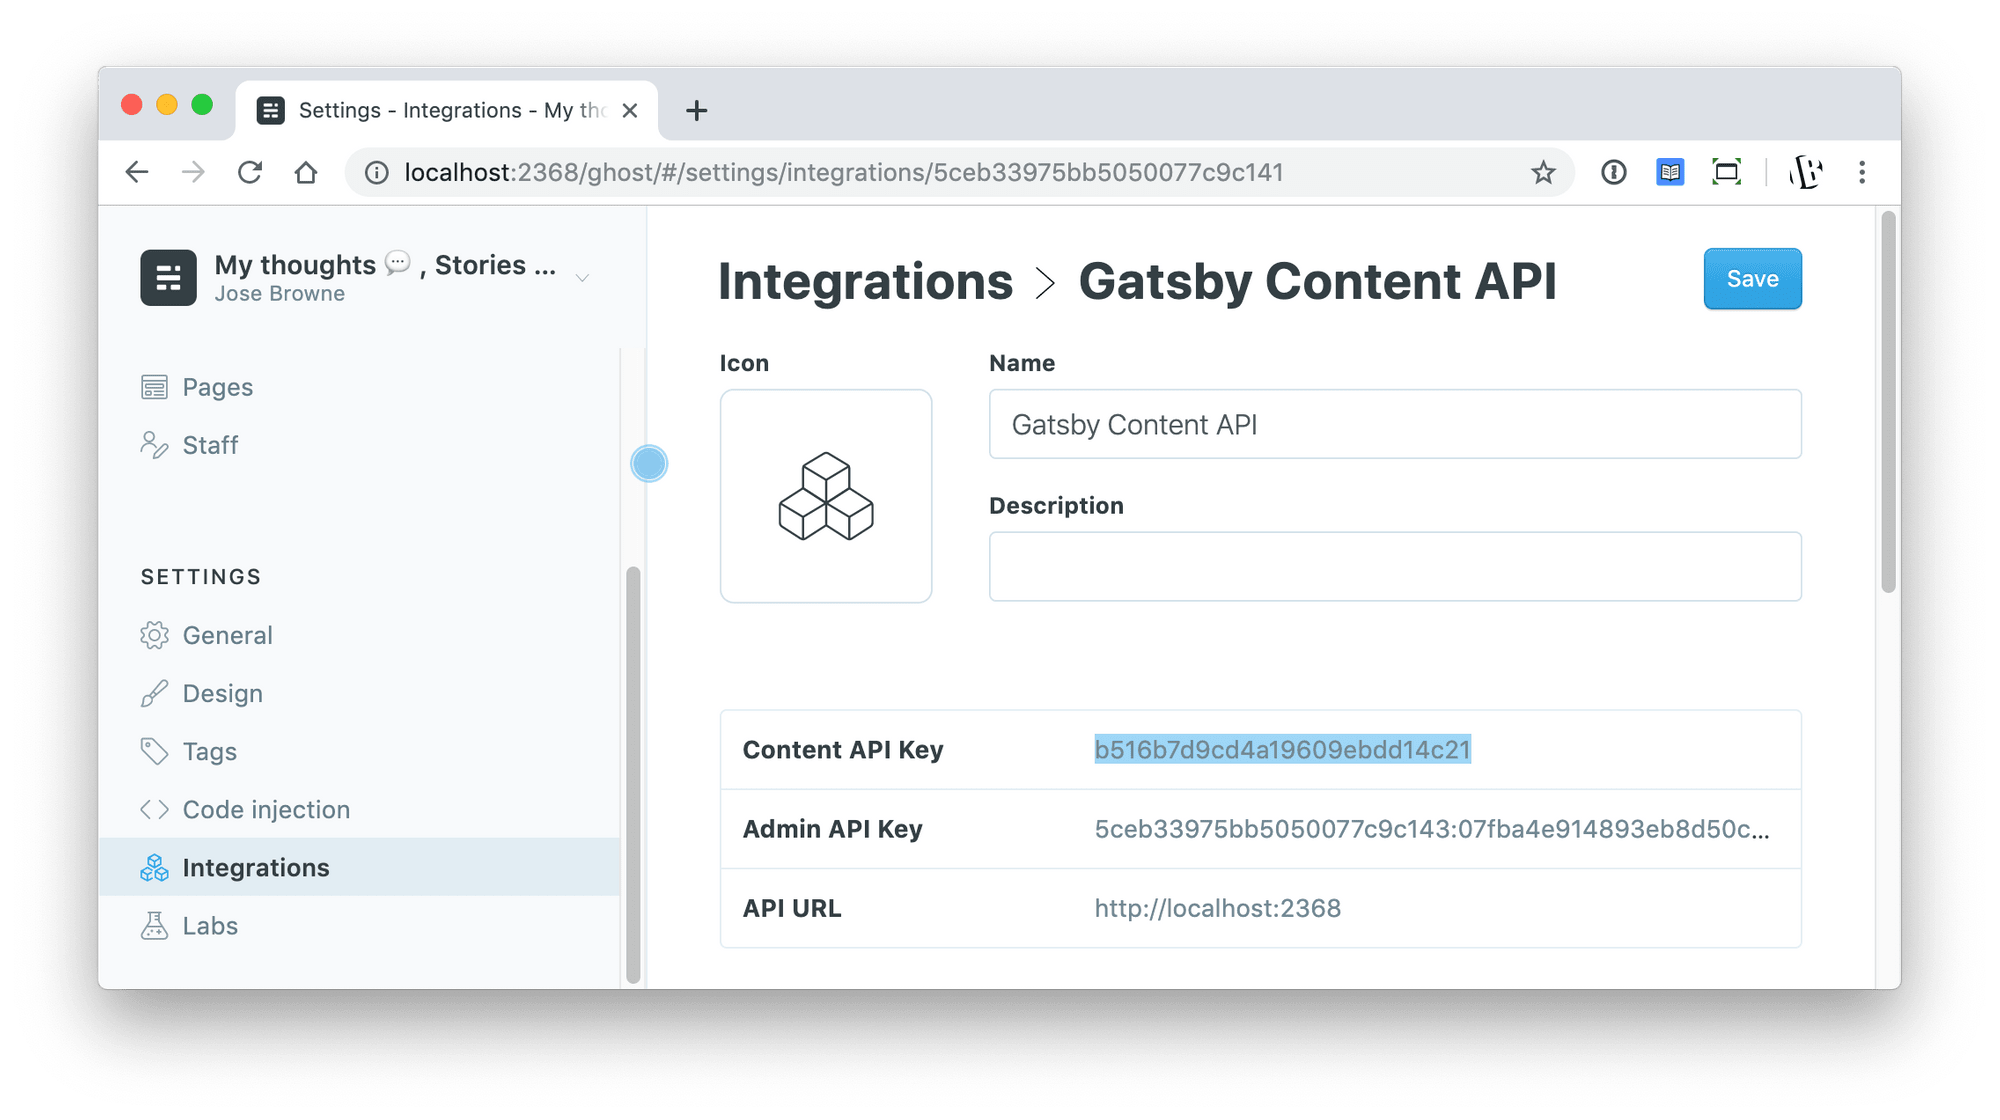
First we need to generate a Content API Key:
- Go to Ghost Admin Panel @ (http://localhost:2368/ghost/)
- Navigate to Settings > Integrations page
- Click on the Add Custom Integration link and give it a name like "Gatbsy Content API"
- Copy your new Content API key.
Finally, open the `.ghost.json` file and add the following:
// LineHighlight: 4;
{
  "development": {
    "apiUrl": "http://localhost:2368",
    "contentApiKey": "[YOUR API KEY]"
  }
}
Restart your Gatsby develop process and we should now be fetching data from our local Ghost API.
(Feel free to make some edits, restart Gatsby process and confirm updates at http://localhost:8000/)
Now let's setup our production configuration
5) Production Configuration
Every time we trigger a build in production our Gatsby project will rebuild and make a call to our Ghost API. To make our API reachable when deploying in production we have two options:
- We could deploy our Ghost instance to something like DigitalOcean. ~$5 per month
- Or, we could just make our local Ghost instance accessible to Netlify during deploys using a tunnel (Similar to Ngrok). ~$0 per month.
There are two main benefits to deploying your Ghost instance publicly:
- You can edit your posts from any computer.
- No need to spin up Ghost locally to write - just go to the URL and login.
That said, for personal projects (or just to get started) running ghost locally is perfectly fine. Let's set that up.
We'll use a really nifty service called Serveo.net to temporarily create a tunnel to our local Ghost instance and set that as our production URL.
Edit: If Server is down see alternative approach below.
This tool requires no installation - just pick a name and run the following from your terminal:
ssh -R [name]:80:localhost:2368 serveo.netThis will create a temporary tunnel to your local Ghost instance at [name].serveo.net so each time Netlify builds our site it will use that URL to fetch latest changes from the Ghost admin running @localhost:2368.
So let's add this URL to our production key in .ghost.json file:
// LineHighlight: 4, 7-8;
{
  "development": {
    "apiUrl": "http://localhost:2368",
    "contentApiKey": "[YOUR API KEY]"
  },
  "production": {
    "apiUrl": "https://[name].serveo.net",
    "contentApiKey": "[YOUR API KEY]"
  }
}
Go ahead and push these changes to git. This should trigger a new build in Netlify so make sure you have your tunnel running.
Next, let's make image uploads work.
5) Setup CDN
By default all assets are stored locally and served via the standard Ghost frontend. Because we're running our own front-end we want to instead upload our assets to a CDN so our images are accessible from anywhere.
To do this, let's setup the Cloudinary Ghost Storage Adapter.
From the /ghost-admin folder run the following commands:
cd current/core/server/adapters/storage

git clone git@github.com:eexit/ghost-storage-cloudinary.git

cd ghost-storage-cloudinary && yarn install --production
Visit https://cloudinary.com/users/register/free and create your free account. All the configuration information we need will be on the top right corner of the dashboard:
Navigate back to ghost-admin root, and rename the config file:
mv config.development.json config.production.jsonThen, add a storage key with the following config (updating auth key values from Cloudinary Dashboard):
// LineHighlight: 8-10, 21;
{
  ...
  "storage": {
    "active": "ghost-storage-cloudinary",
    "ghost-storage-cloudinary": {
      "useDatedFolder": false,
      "auth": {
        "cloud_name": "[YOUR CLOUD NAME]",
        "api_key": "[YOUR API KEY]",
        "api_secret": "[YOUR API SECRET]"
      },
      "upload": {
        "use_filename": true,
        "unique_filename": false,
        "overwrite": false,
        "folder": "blog-images",
        "tags": ["blog"]
      },
      "fetch": {
        "quality": "auto",
        "secure": true,
        "cdn_subdomain": true
      }
    }
  }
}
Finally, restart your Ghost instance:
ghost stop && ghost startAll set, images will now be served from our CDN.
Optional: Sync Netlify + Ghost
If you'd like to have Netlify automatically rebuild your site anytime you publish a new change Click here for steps on how to wire that up.
That's all there is to it. Hope you've found this helpful. Share any thoughts/suggestions in comments bellow.
Cheers.
Edit: Serveo Alternative Approach
Serveo has been down lately I've tried many alternatives and they all seem to be having uptime issues. The primary reason I've avoided using the industry standard tunneling service, Ngrok, is because stable URLs are a paid plan only feature. If you have a paid plan just just run:
ngrok http -subdomain=[name] 2368And then replace the production API URL with https://[name].ngrok.io.
However, if you don't have a paid plan here an potential solution. I've changed the workflow a bit by creating an environment variable that I update in Netlify whenever I deploy.
Here's how to set that up:
- If you haven't already, follow these steps to Install Ngrok.
- Update your project to use env variables in production (instead of reading it from
.ghost.json). See my code changes here. - Run Ngrok to start tunnel & get your tunnel URL (you'll do this anytime your ready to deploy)
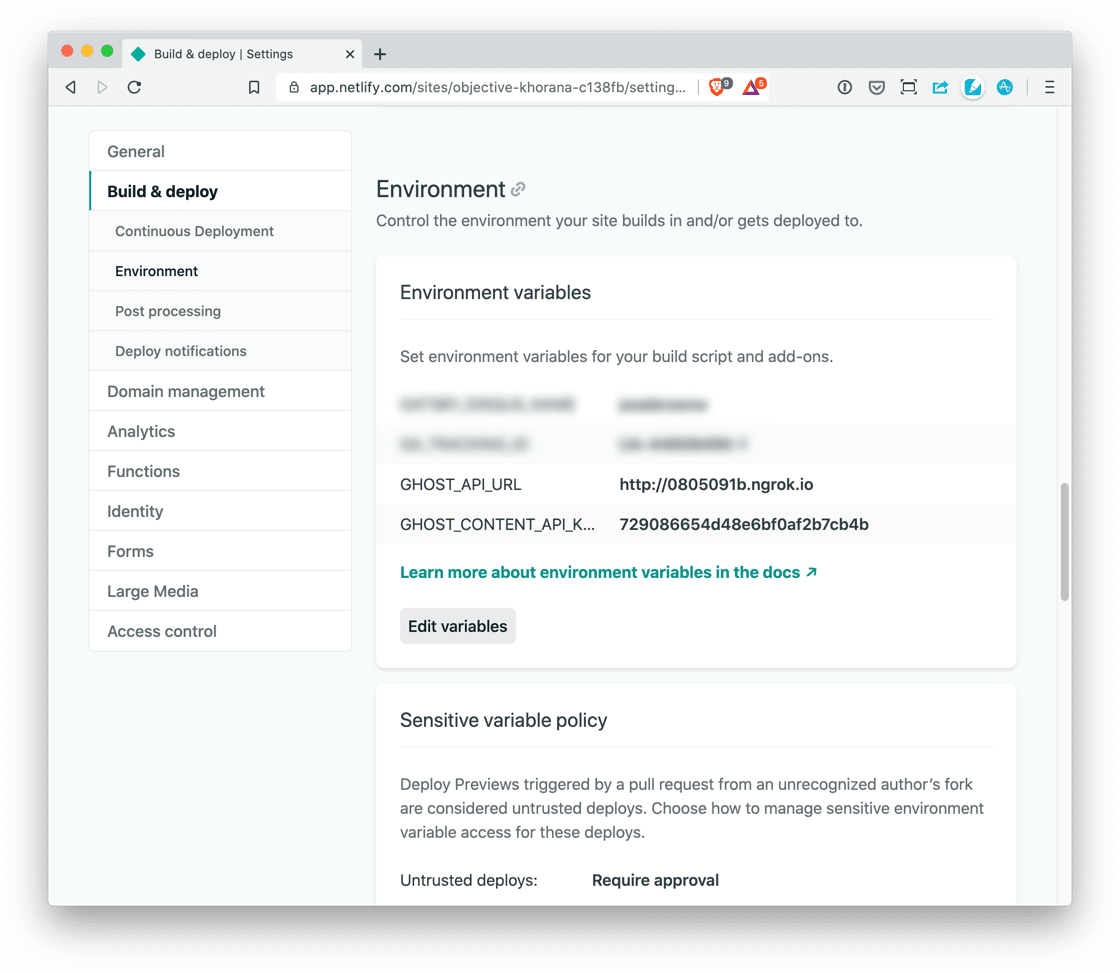
ngrok http 2368 - Finally, in Netlify, go to the Environment variables deploy settings and set your
GHOST_API_URLand theGHOST_CONTENT_API_KEYas variables.
Anytime you deploy, just spin up your tunnel, update your API URL environment variable and you're good to go 👊🏽
Cheers II 🥳

Reach me @JoseBrowneX
